
Quickstart
Need help? Join our Discord community.
A quick guide to get you building tattoos in 5 minutes or less.
Create a new project
Fill out project information
Select a project name, character sex, and character profile. There are three profiles to choose from: front, back, and side.
Upload a picture of you (Optional)
Want to design tattoo directly onto you? Drop an image in the dashed box.
Profiles are not strict, you may upload your full body, or if you only intend to work on your upper half, a picture of that will do.
When you upload a picture, you'll be asked to crop it to 9:16 aspect ratio. Scroll to zoom if needed. Make sure you take up as much of the image as possible.
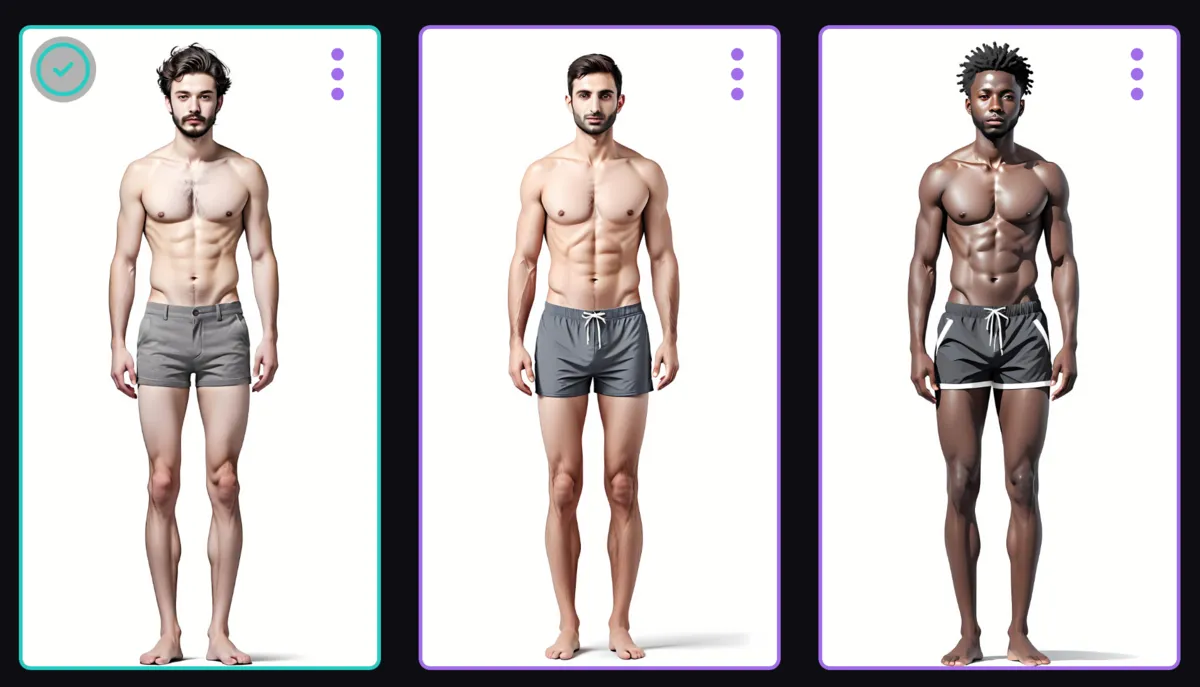
Select a character
Select a character you'd like to design tattoos onto. The character selected will be used to display the final designs so make sure your designs will be visible from the selected view.
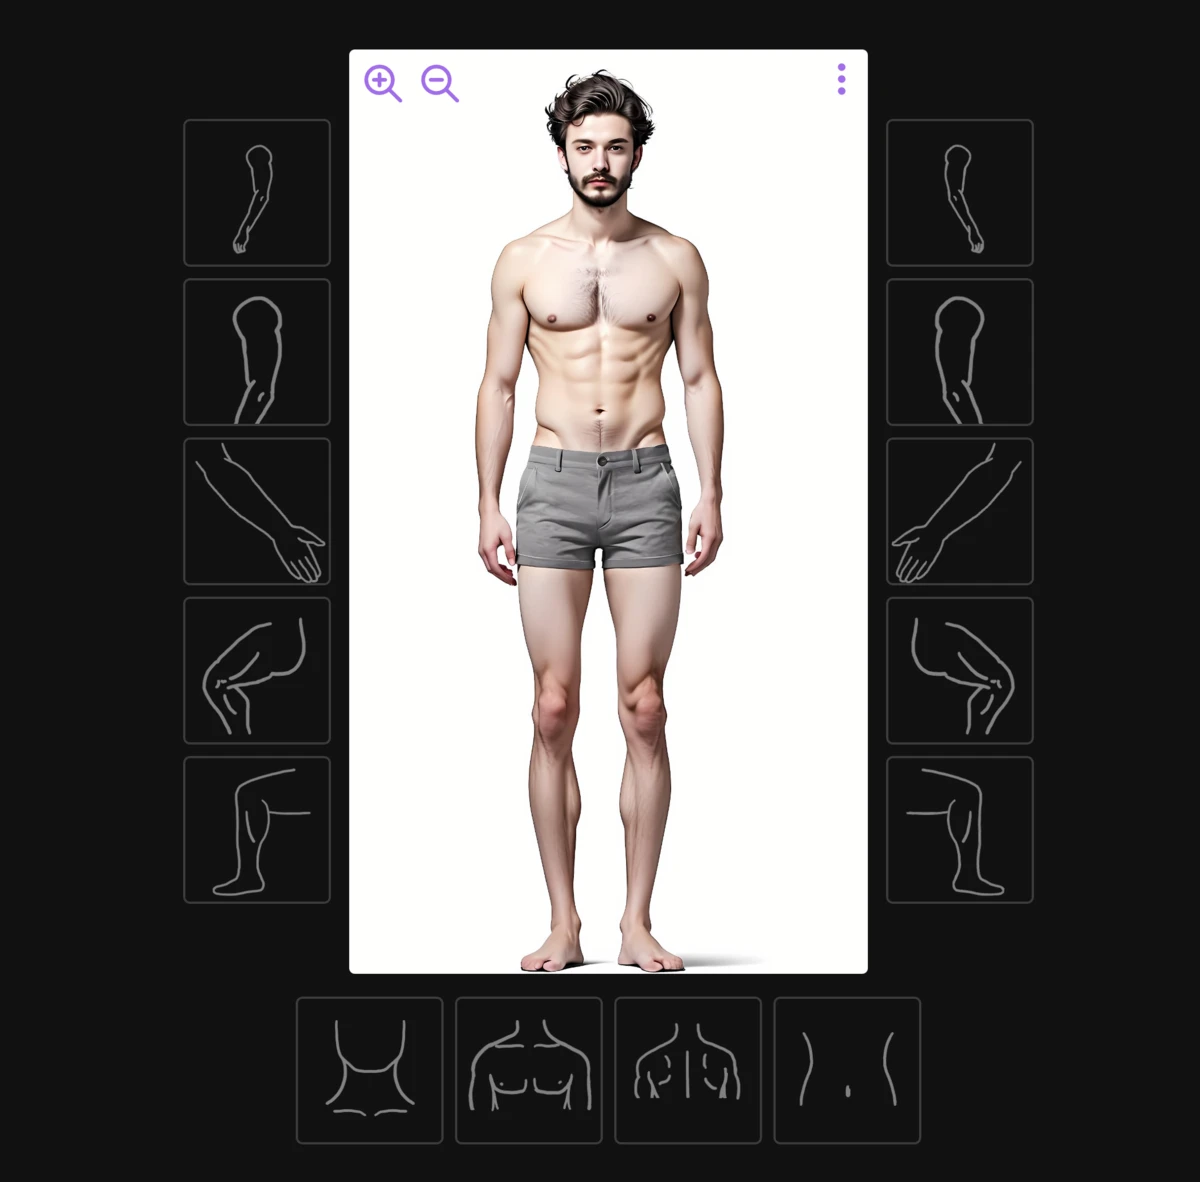
Create a new placement
Select your first placement
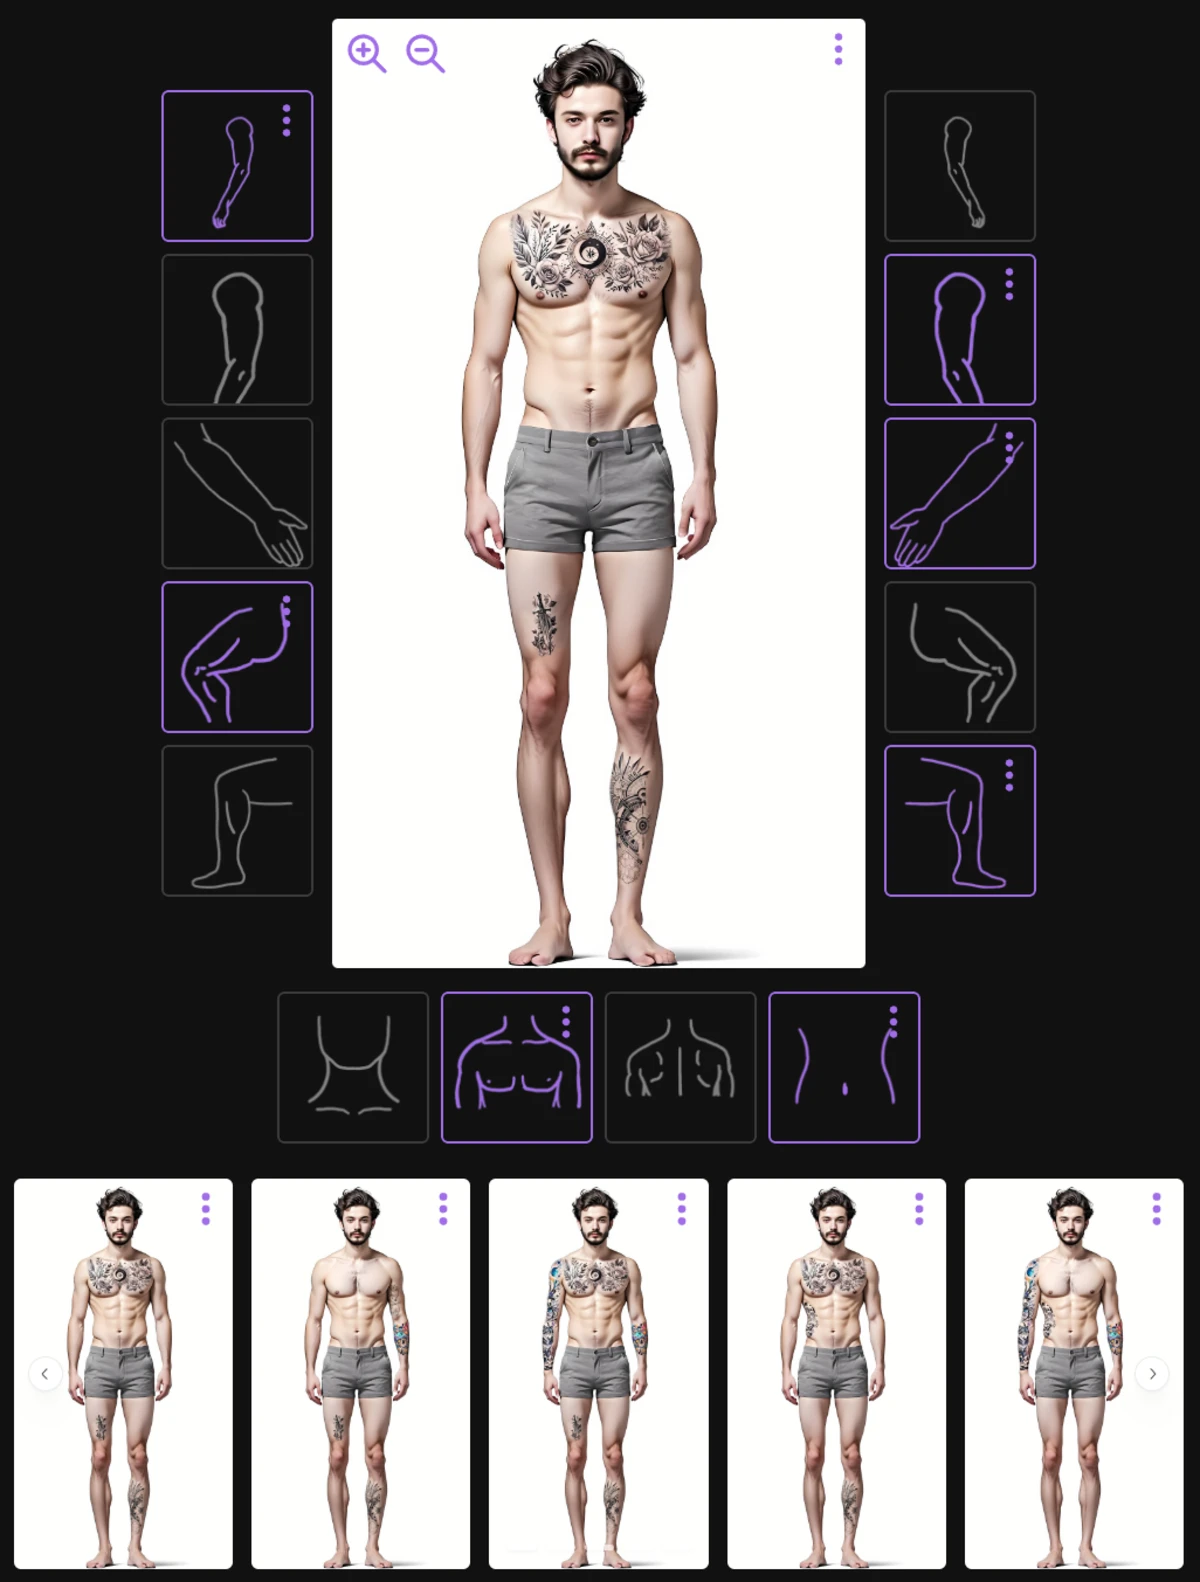
After creating a new project, you'll be brought to the placements page. You can view this page at any time by selecting the person icon at the top of the page.
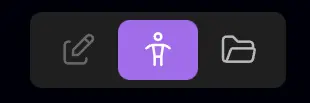
The grayed out boxes are your placement options. Select one to create your first placement.
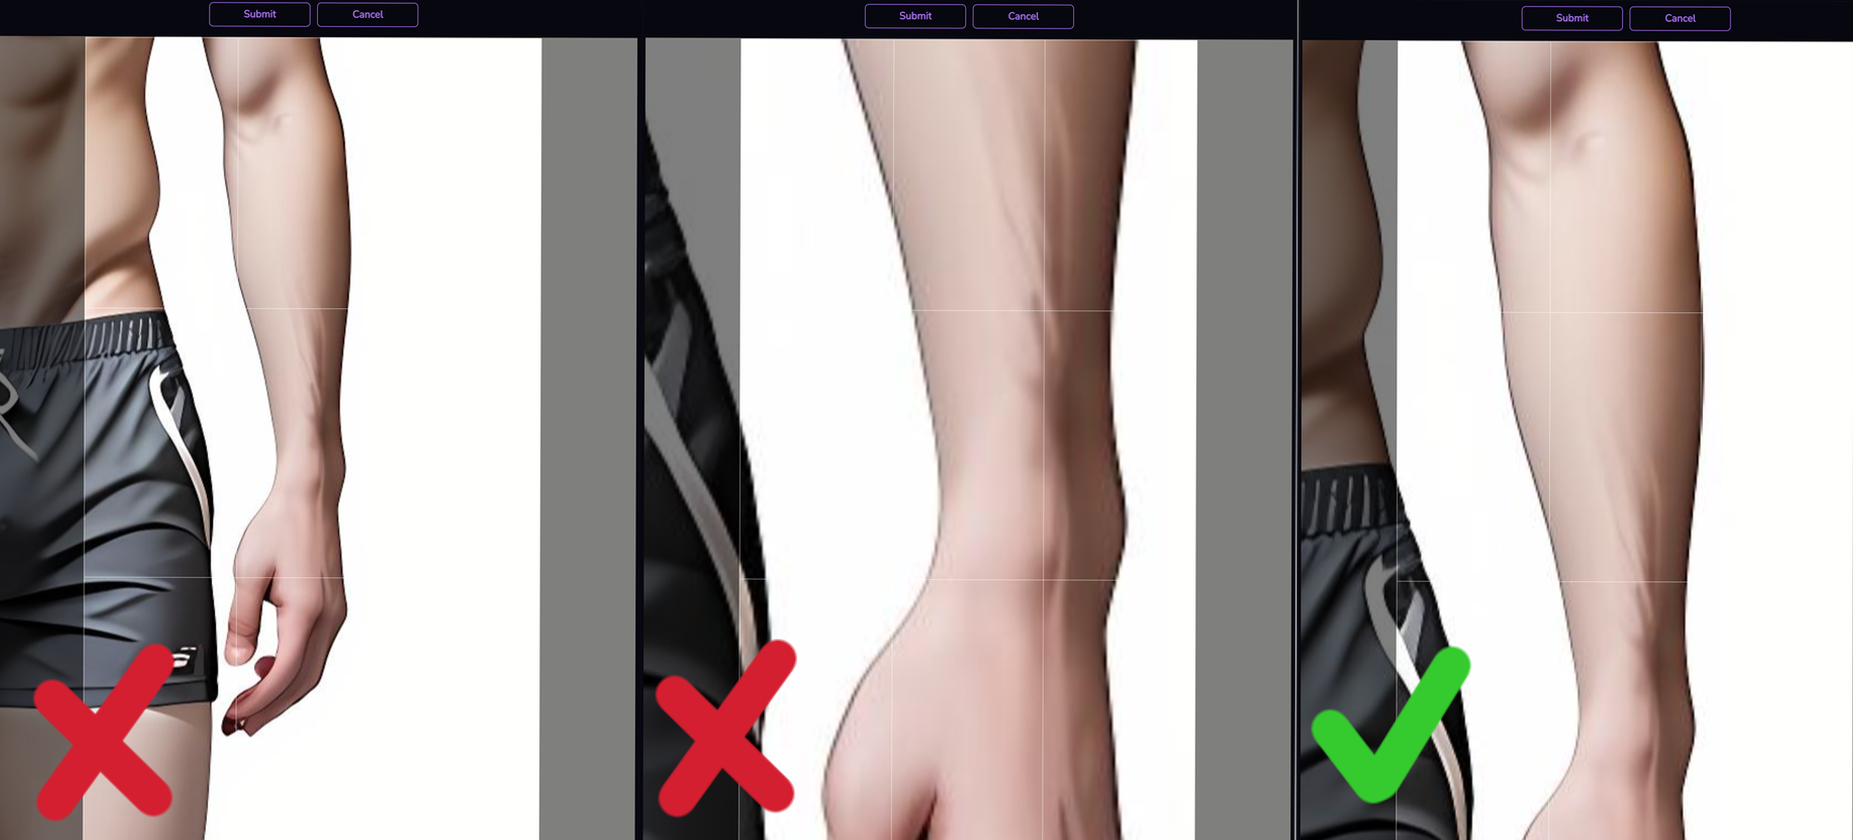
Zoom to placement
When you select your placement, you'll be asked to select it from the image. Zoom until your placement is maximized in the window. Do your best to crop just your placement. If other placements are in the frame, this will overlay your design in that area when you go to try on all your tattoos.
For example, a forearm placement would be selected as shown. You want to zoom in as close as possible while keeping the entire placement still in frame. This will produce the best results.
Digital try-on
The designs you create for each placement are mapped back to your character profile. You can mix and match designs, try out different placements, and craft your own aesthetic.
Save a snapshot of your character to quickly compare which designs look the best on you.
Generate designs
Select a mask
Selecting a good mask is an important part of creating quality designs.
After selecting a placement, you'll be brought to the editor page. The editor includes generation settings as well as an area to view your designs.
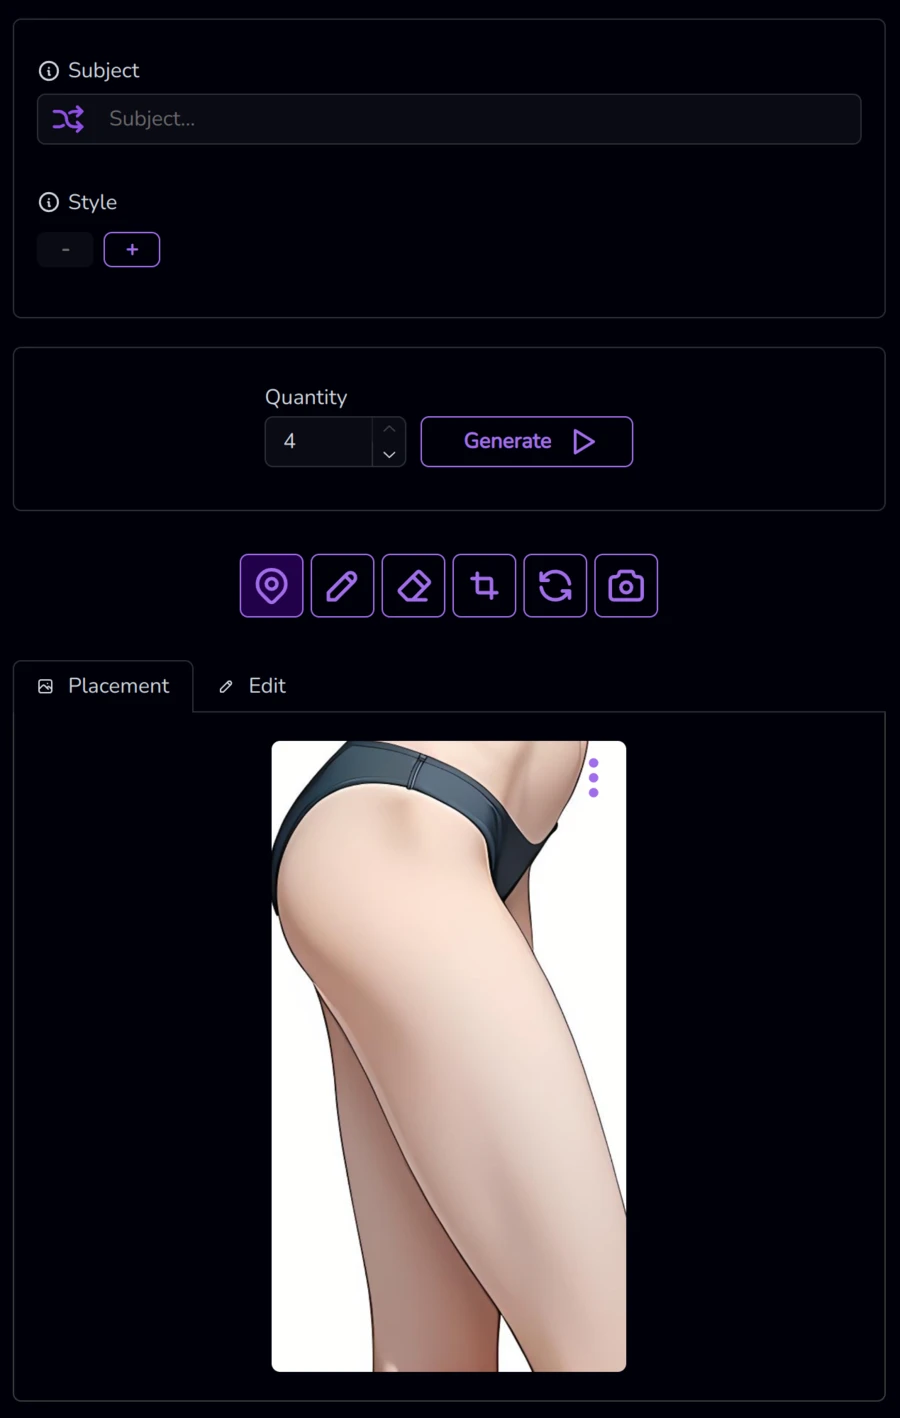
Click the flashing mask button.
Then, paint on the region you want the tattoo to be. Draw within the contours of the body. Use the New brush to
paint over bare skin or the Edit brush to paint over an existing tattoo.

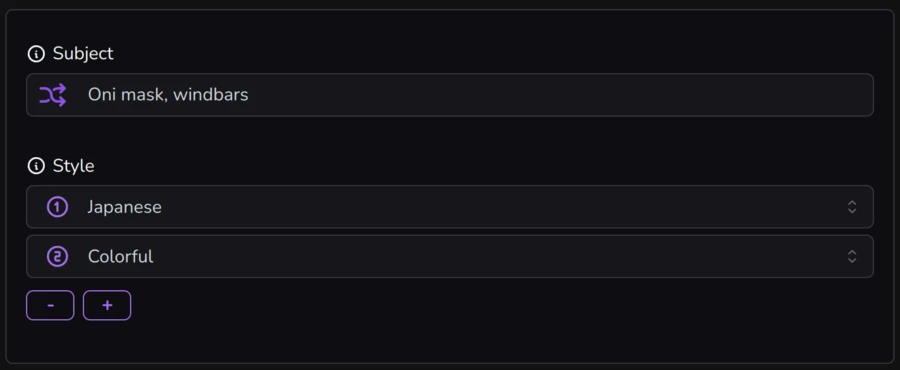
Describe your tattoo
In the subject field, write out what you'd like your tattoo to be. Simple comma-separated descriptions will work most reliably.
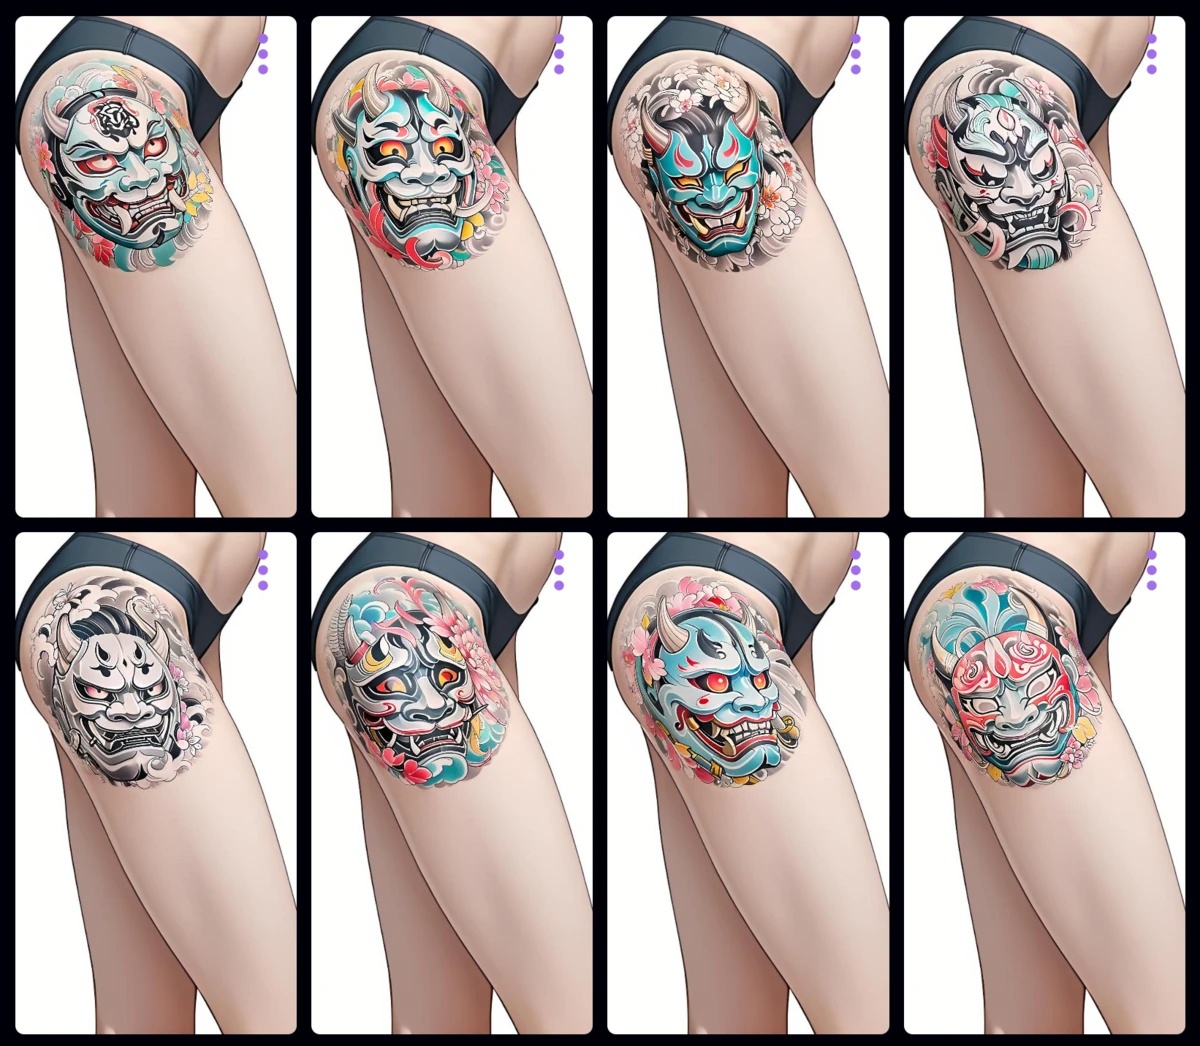
Generate!
Hit the generate button to generate some design options. Every generation is different so the more you generate, the more unique options you can select from.
Apply a design
When you're happy with a design, click the triple-dot menu button and select "apply". Applying a design will add it to your placement. You can then see how it looks on you!
What's Next?
Want more from your designs? We've only just scratched the surface. Check out more guides for more pro-tips.